How to make your own pizza dough
Search:
How to make your own pizza dough
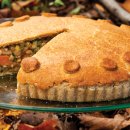
We asked the godfather of Australian-Italian cuisine, Stefano Manfredi how to make the perfect pizza base at home.
This pizza dough is made using easily available dried (powdered) yeast, which gives very consistent results. Each 250-gram ball of dough will make one 30-centimetre pizza, giving you six pizze.
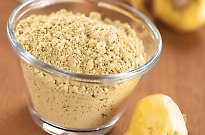
- 1 kg unbleached, stoneground whole-wheat flour or strong bread flour
- 550 ml water at room temperature
- 2 g dried (powdered) yeast
- 20 g sea salt
- 30 ml extra-virgin olive oil
Place the flour and 500-millitres (2 cups) of the water in a mixer fitted with a dough hook attachment. Begin mixing on a low speed and keep mixing until the flour has absorbed all the water but is still not smooth. This should take only 3 to 4 minutes. Stop the mixer and let the dough rest in the bowl for 15 to 20 minutes.
Meanwhile, dissolve the yeast in the remaining water. Once the dough has rested, turn the mixer on to medium and add the dissolved yeast. Two minutes later, add the salt, mix for 2 minutes and then add the olive oil. Keep mixing until the dough is shiny and homogenous, about 6 minutes. Turn the speed up a little and mix for 2 minutes more.
A good way to check the elasticity is right is to stretch a piece of dough and if it forms a strong, transparent membrane without breaking (similar to blowing a bubble with gum), it is ready. Let the dough sit, covered with plastic wrap, for 30 minutes in winter or 15 minutes in summer. The dough is now ready to be shaped into balls and then rested further in the refrigerator before shaping into discs.
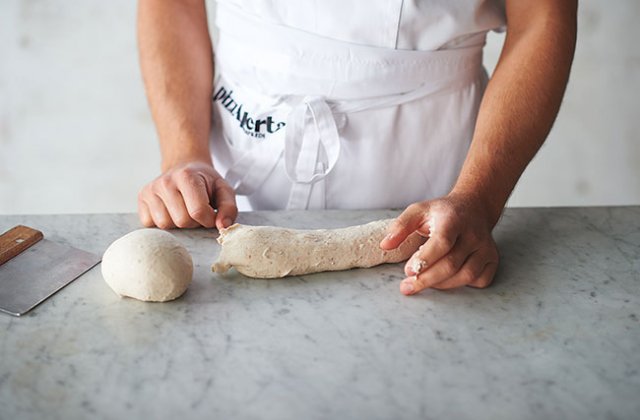
Shaping basic dough into balls

Once the dough is ready to be shaped, it will will feel soft, airy and malleable. Take the piece of dough at one end and, using both hands, form a ball about 200 to 250 grams in size. Work by tucking the folds under the ball so that the top surface is taut and smooth.
Pinch the dough underneath the formed ball to separate it from the long piece of dough.Repeat this procedure to make more balls.
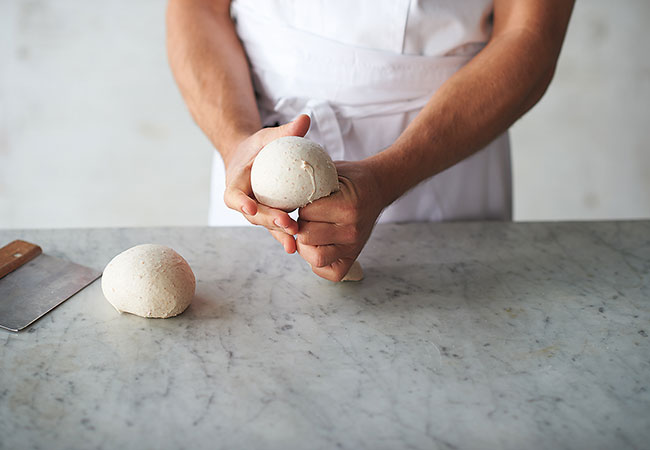
Roll each ball gently on the work surface to make it even and round.
Place the balls on a covered non-stick tray. Make sure there is at least one ball width between each ball and the edges of the tray and that the balls don’t touch the cover. Use a fine mist water spray to hydrate the surface of the balls once they are on the tray. Let rise for 1 hour at 20 to 24°C. After resting, place in a refrigerator for at least 12 hours and up to 18 hours. The balls can sit in the refrigerator at around 4–5°C for up to 3 days.
Shaping basic dough into bases
Once the dough has matured and tripled in size, remove from the refrigerator and leave at ambient temperature for 3 to 4 hours (less in summer and more in winter) before forming the bases.
Use the bench scraper or knife to separate the dough ball from its neighbours and lift the dough ball from the tray and turn bottom side up, revealing the bubbles.
Place the dough ball, still bottom side up, on a small mound of flour and turn it over in the flour so that both sides are covered.
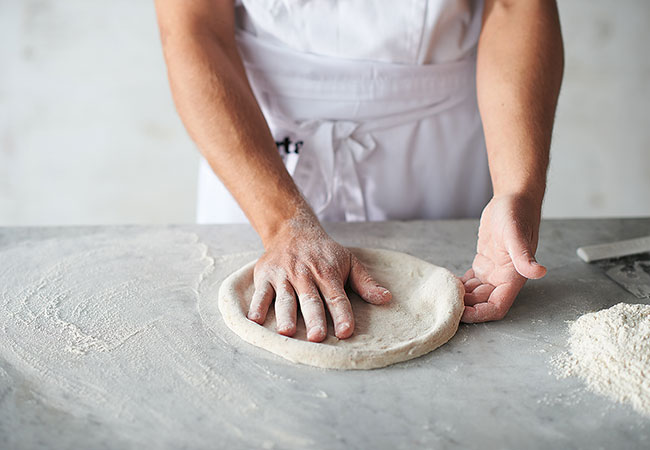
Begin by using your fingers to form the cornice (border) and push the dough out, making the circle larger. Once it has doubled in circumference, remove from the flour and place on the work surface.
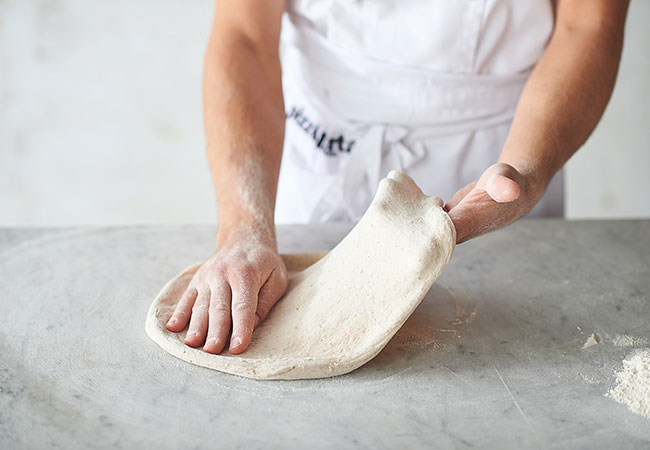
Keeping one hand on one side of the base, gently stretch the opposite side with the other hand and lift and slap the dough circle from side to side. This will stretch the gluten in the dough and the base will get larger and larger.
Once stretched to the desired size (our pizze are around 30 in diameter), place the base back on the work surface and neaten into a circle. The pizza base is now ready to dress with the toppings and then bake.